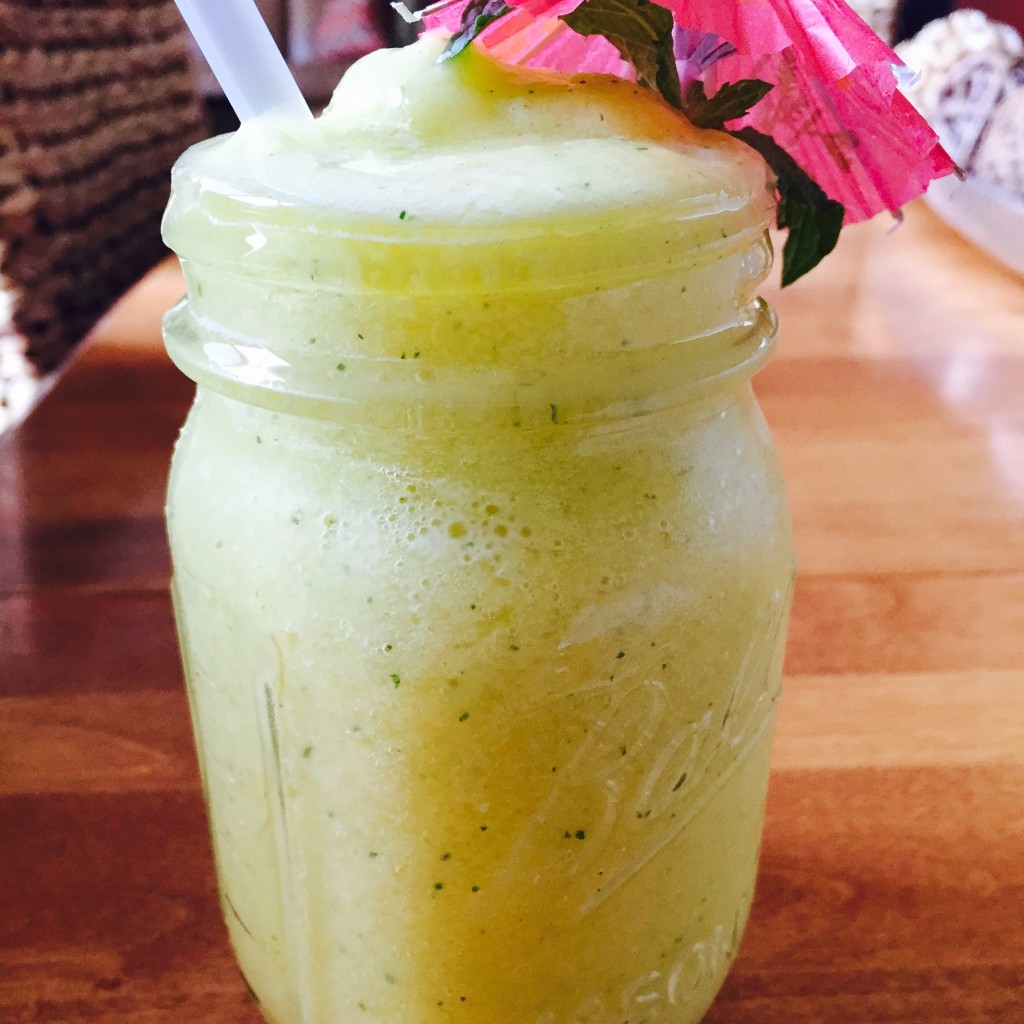
With temps being super hot and muggy these days, cold drinks are a necessity. I had some fresh fruit I wanted to use, so I decided to blend up a healthy drink with it.
I am a huge fan of pineapple, so I knew I would use it in my drink. I like mango, but I am not a huge fan of it. I happened to have some on hand and decided to add a little of it to my drink as well. Finally, I threw in some lime juice, fresh mint leaves, and WOW! I loved the creation. It was delicious so I just had to share it with you. Enjoy! Of course, let me know if you plan to give it a try.
Pineapple Mango Chiller
2015-07-29 23:30:49
Serves 1
Healthy refreshing drink using just a few ingredients.
Prep Time
5 min
Cook Time
5 min
Total Time
10 min
Ingredients
- 3/4 Cup Fresh or Frozen Diced Pineapple
- 1/4 Cup Fresh or Frozen Diced Mango
- Juice from 1/2 Lime
- 4 Mint Leaves
- 1/4 Cup Ice Cubes
- 1/4 Cup of Water (or more until desired consistency is reached)
Instructions
- Add ingredients into blender. Blend until combined well. Add sugar to taste if needed. Drink immediately!
Notes
- If using frozen fruit, you may want to thaw fruit in microwave for 30-40 seconds before blending.
SuperMom Decoded http://supermomdecoded.com/

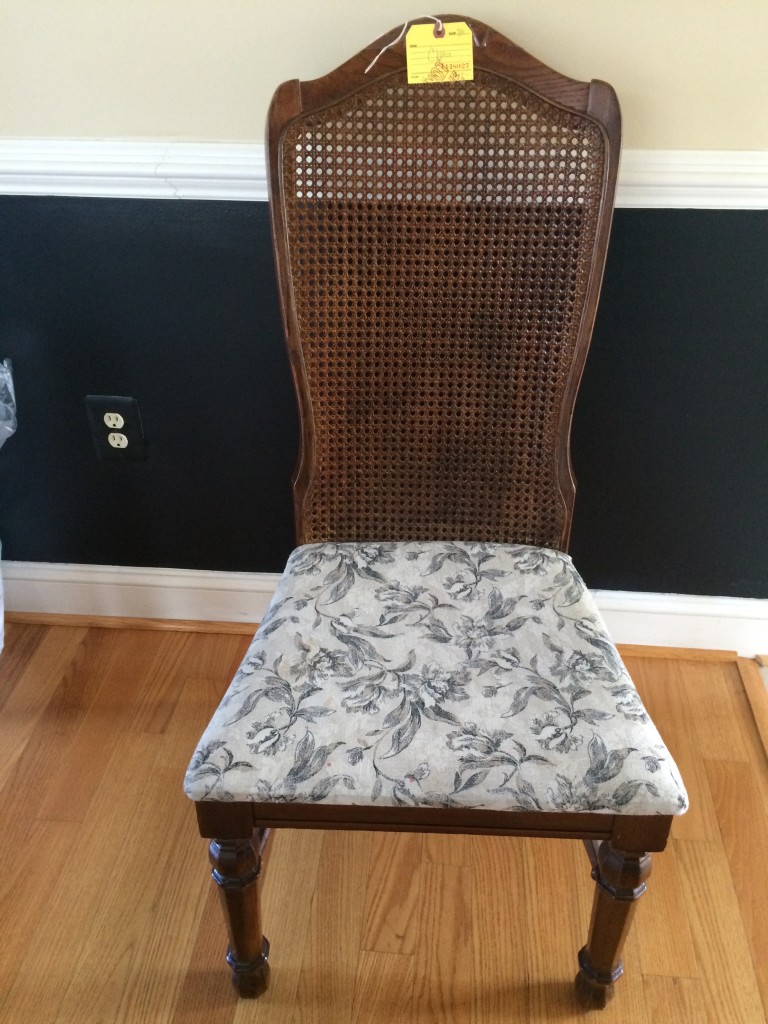
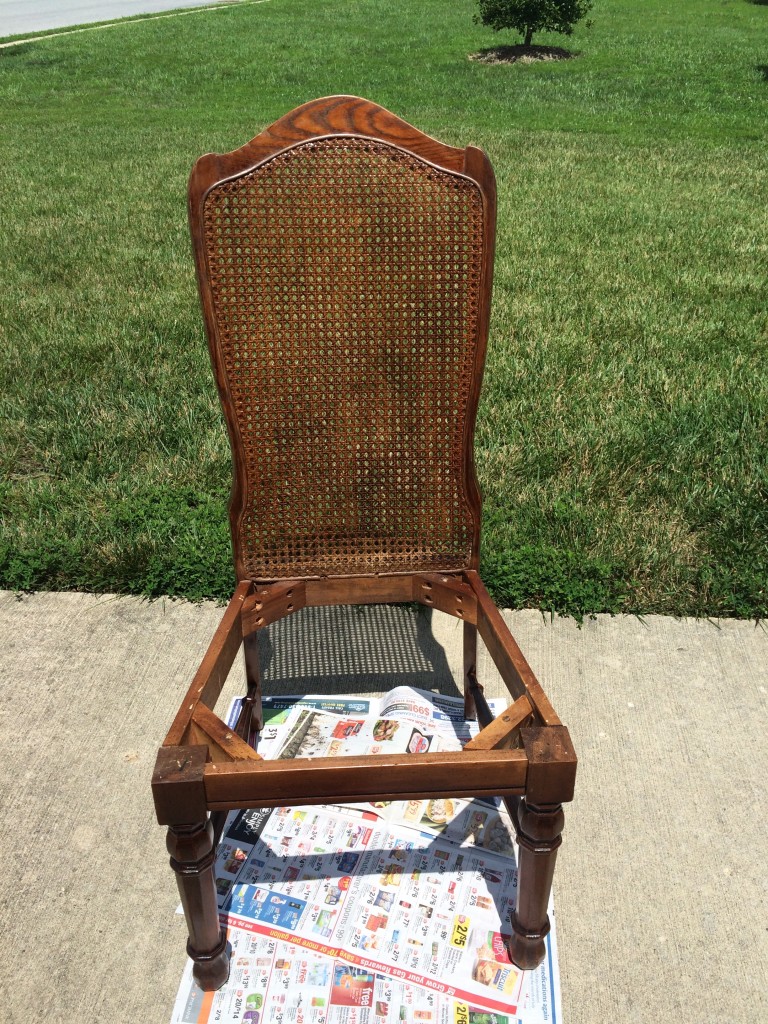
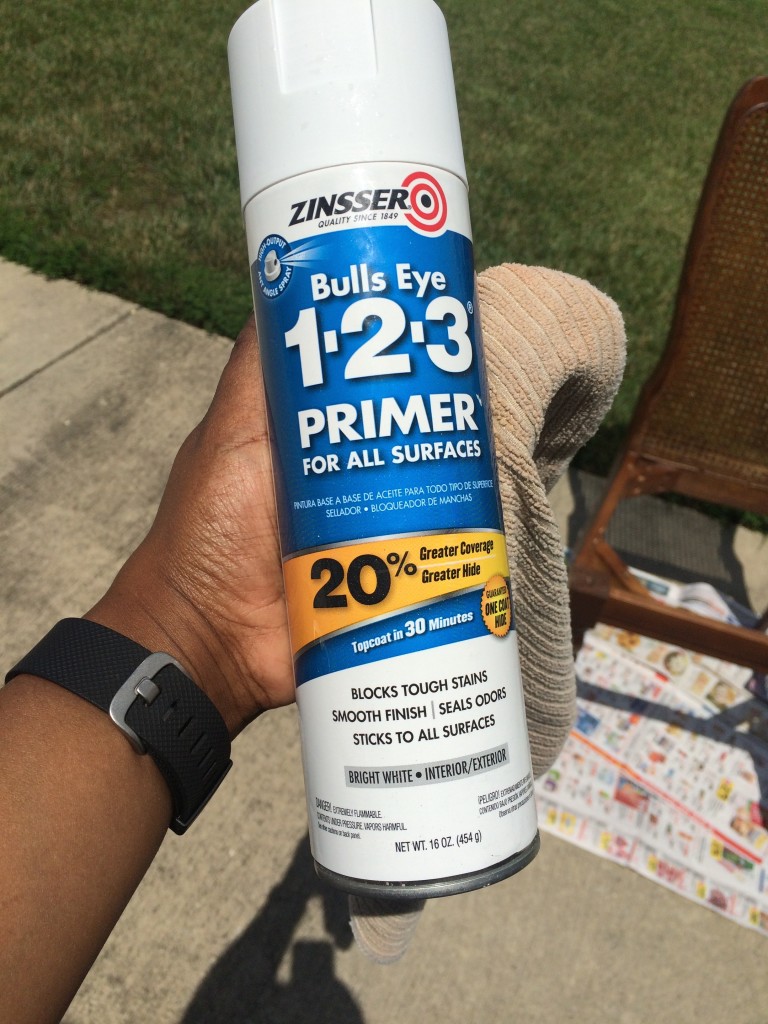
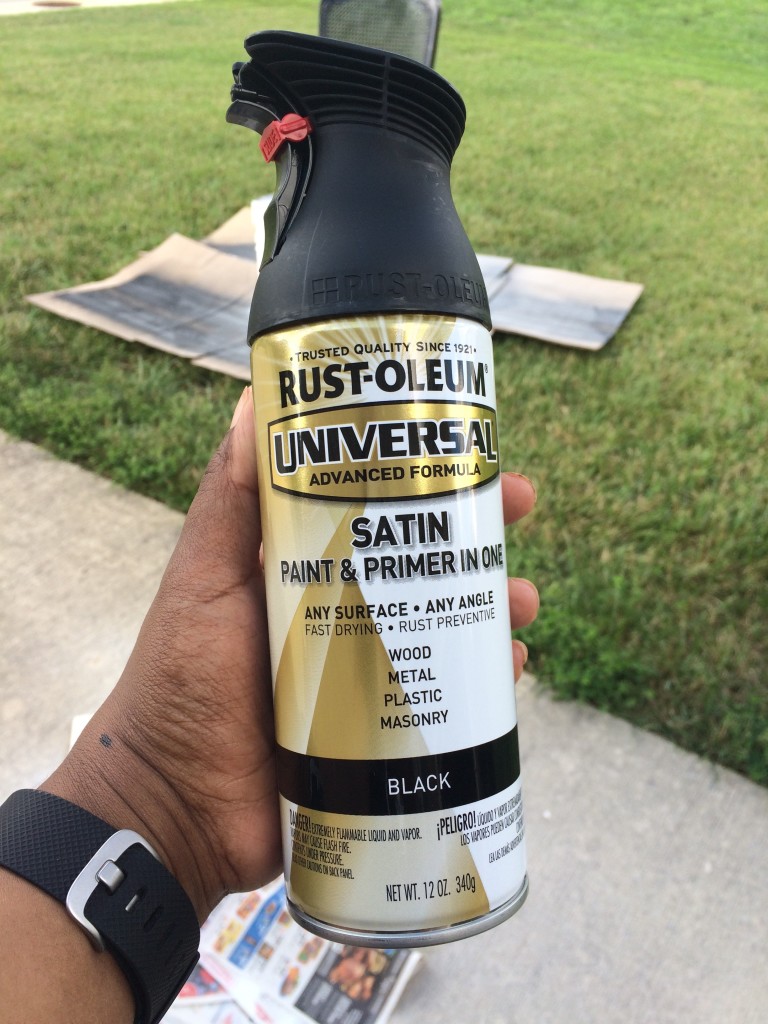
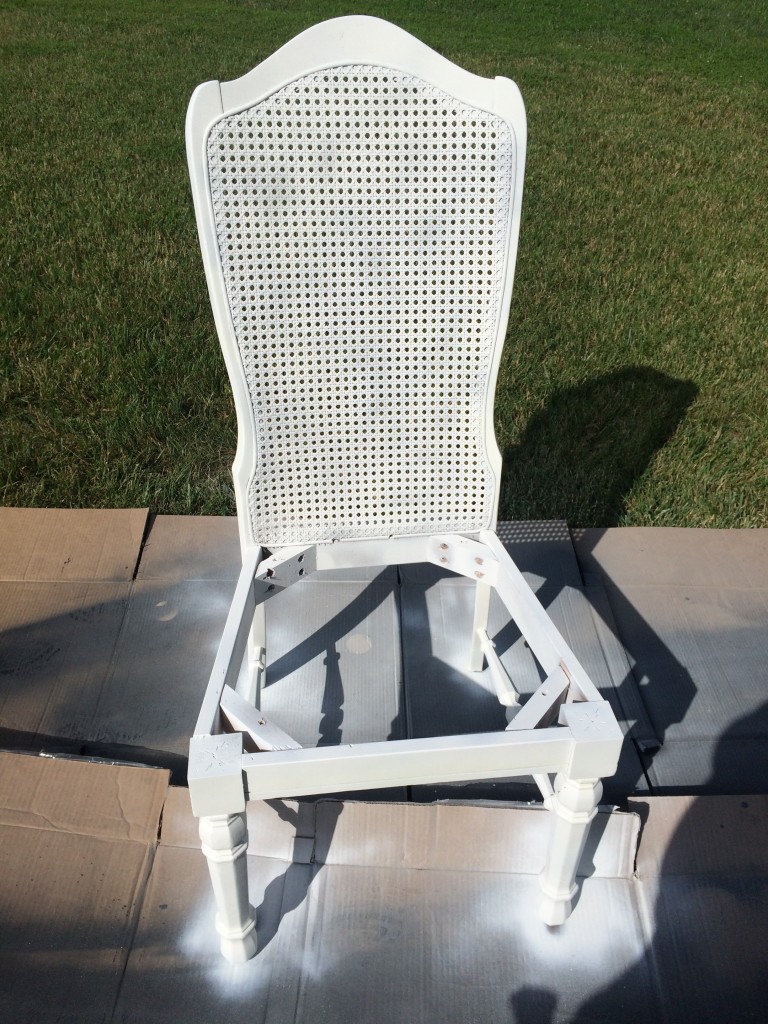
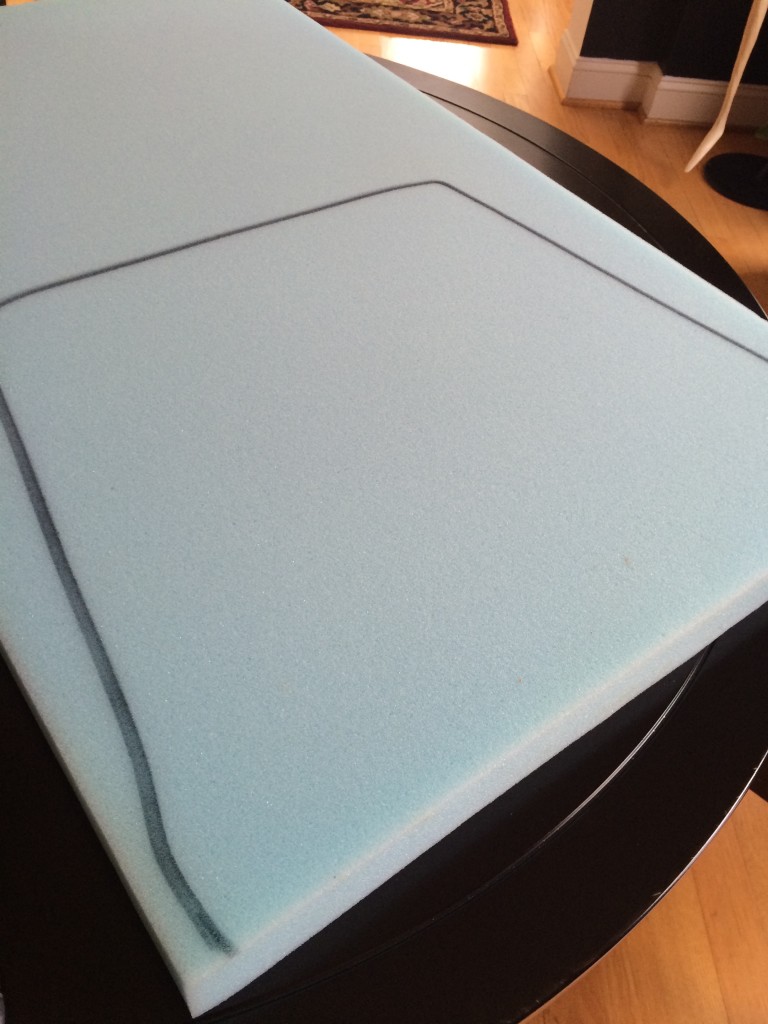
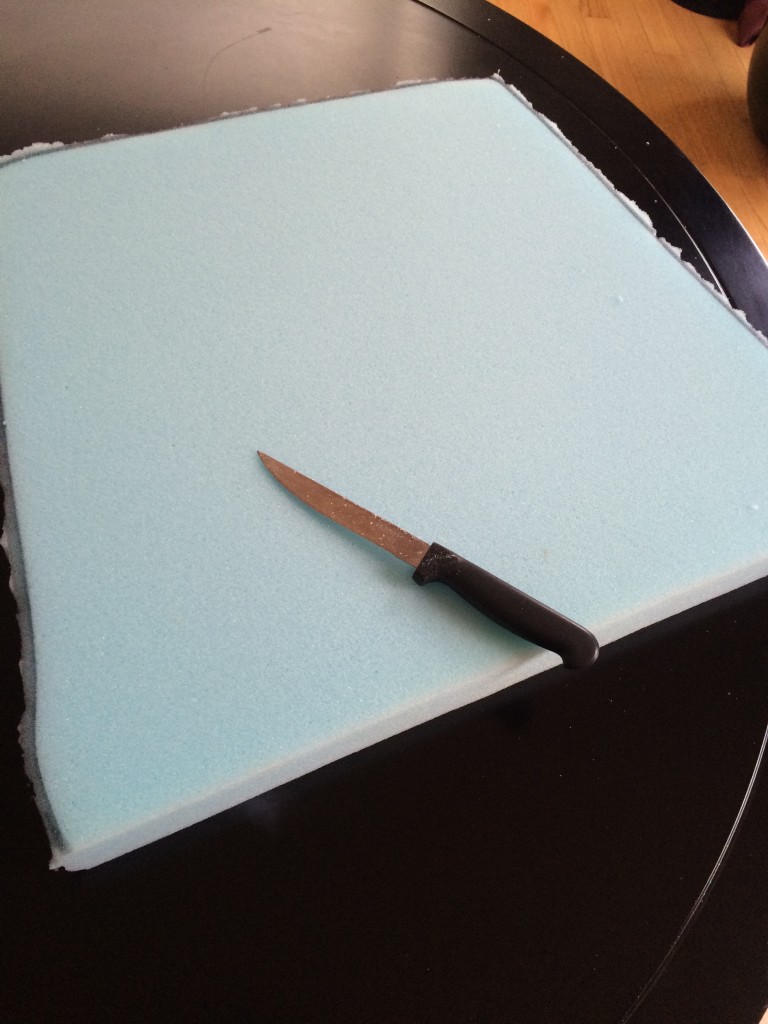
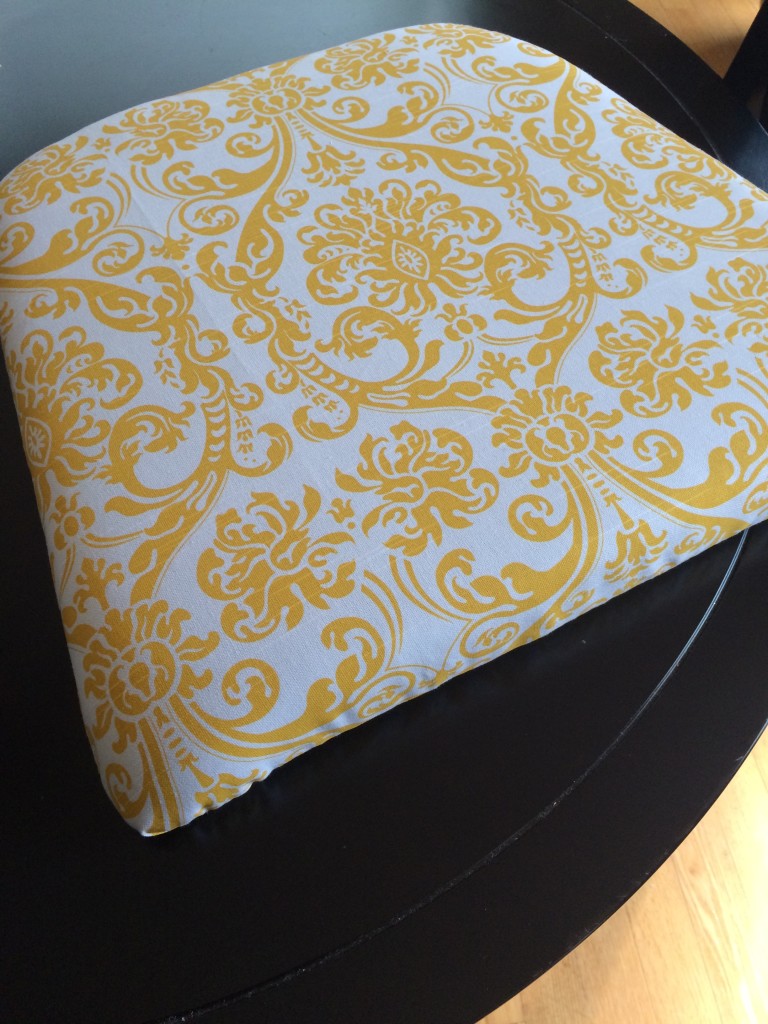
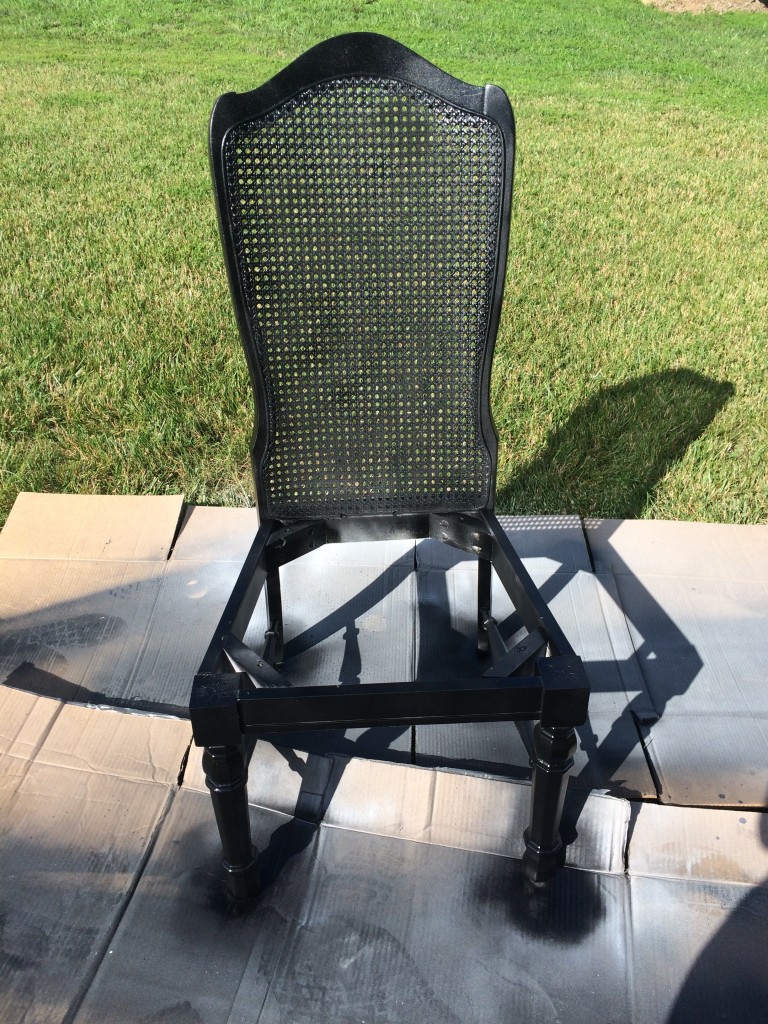
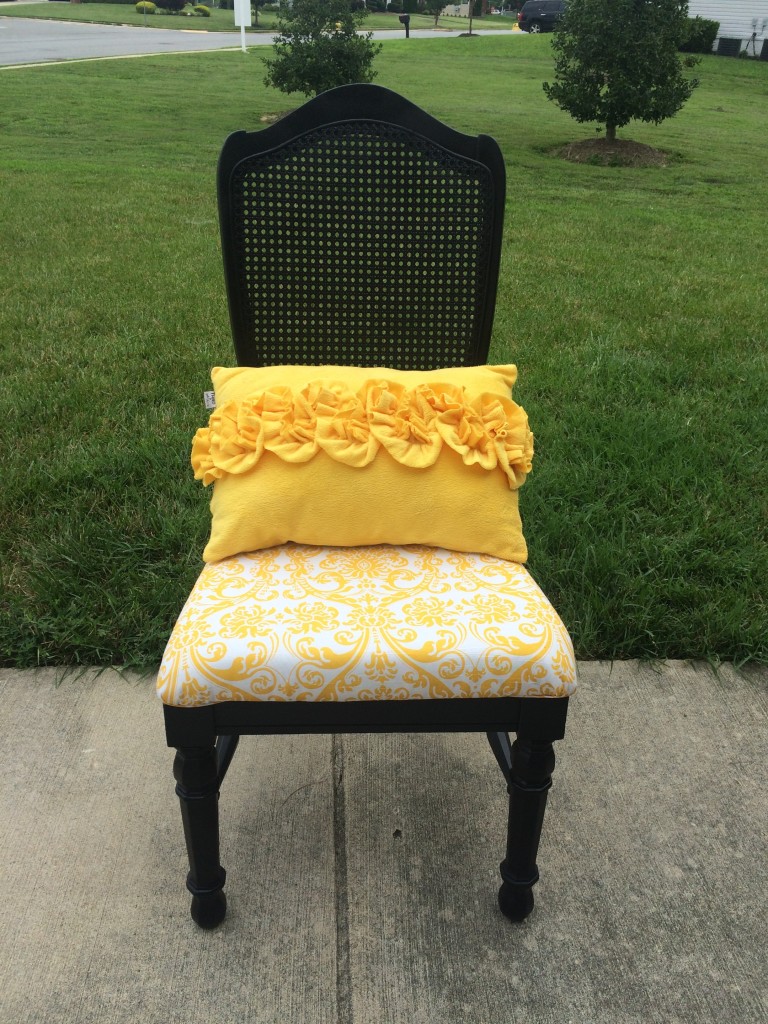
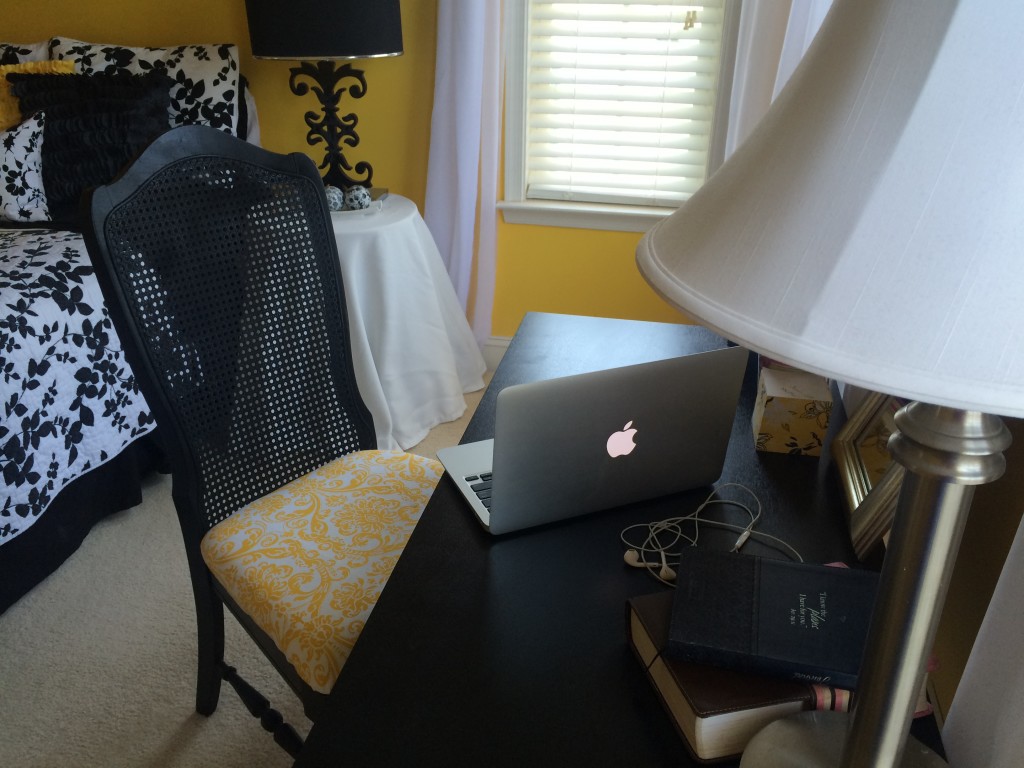
 I am learning more and more to embrace the rhythm of my life and enjoy every season. There are times when my life is fast paced, and filled with adventurous travel on a weekly basis. During those times I am extremely busy, I barely see my home, and when I do see my home, I just like to relax in it. Other times, things are slower. Many times the slowness comes without warning, and my brain is still in busy mode, unaware that things around me have slowed down. Finally, it all catches up to me, and I surrender and learn to take advantage of the moments I have to stop and smell the roses. During the slow times, I try to productively occupy myself with the things I love to do. I read books more, blog more, entertain people at our home, etc. But one of my favorite things to do is tackle a decorating project in my home. My home is my retreat space. There is a certain feel I want to experience when I walk into it, and I am willing to invest the time and effort it takes to create the space I love.