Order Fabulous Mom T-Shirt Here

Celebrate the FABULOUS moms you love with this 100% cotton t-shirt, printed with gold metallic and black ink. Fabulous just means she is exceptional, phenomenal, amazingly good! This is the perfect gift for husbands and kids to get for mom, for this upcoming Mother’s Day, or a great gift that mom can get for herself!

NOTE: ORDERS RECEIVED BY MONDAY, MAY 2 WILL SHIP via USPS 2-3 DAY PRIORITY ON TUESDAY, MAY 3. THESE ORDERS SHOULD ARRIVE BEFORE  MOTHER’S DAY (please keep that once packages are in the hands on USPS, I have no control over delivery.)  ORDERS AFTER MAY 2, WILL SHIP ON MAY 3 OR 4. MOTHER’S DAY DELIVERY IS NOT GUARANTEED.  

CLICK HERE TO ORDER NOW!

Order New Coffee Mug Here

OLYMPUS DIGITAL CAMERA

It’s the perfect gift to get a friend, or yourself! Why drink your coffee, tea, or gourmet hot cocoa in an ordinary mug, when you can have this FAB 22K Gold ink, crisp white, cafe design inspired 14 oz mug? Priced just right for any budget.  Mugs are limited in quantity. Click here to order now:


Fabulous Coffee Mug


OLYMPUS DIGITAL CAMERA

Fabulous!

Thrift Store Furniture Transformation

IMG_6975

Hello there! Well, here is my latest thrift store furniture transformation. I really debated as to whether or not I wanted to tackle this one. It was so ugly! I didn’t have much hope for this outdated laminate dresser when I spotted it in the thrift store. Plus the price tag was a ridiculous $75, which further discouraged me. Also, I had never tried to transform a piece that was this size.

There she is, sitting in the thrift store.

There she is, sitting in the thrift store.

I decided to go ahead and try it since I was making steady progress on my master bedroom decorating (which has been wonderfully decorated mostly with thrift store finds, and products from Etsy, but that’s another blog). I just needed to replace my tiny TV stand (left here by the previous homeowners), with a nice piece of a substantial size. I had located a nice cabinet weeks earlier, but I didn’t purchase it, so someone else got it. I knew I could not afford to think on this piece too long. On my next visit to the thrift store, it was still there, and marked down to $60, so I decided to go for it!

FullSizeRender (1)

Once I got the piece to my house, it sat in my garage for a day or two until I decided what color gray I wanted to paint it. I went with the wildly Pintrest popular Annie Sloan Chalk Paint in Paris Gray. I had no idea what “chalk paint” was. I also could not figure out why everyone was using it so much. With a little research, I realized the paint wasn’t even sold in my local Lowe’s or Home Depot, so I was really hesitant to give it a try. After a LOT of research on youtube and a few blogs, I realized this pricey paint and its accompanying wax, was supposed to be super easy to apply. Oh and the best part is, NO SANDING OR PRIMING OF FURNITURE WAS REQUIRED! And the best, best part is the paint was sold in a tiny store nearby. Yassssss!

The paint was $36 and the wax was $12, so I spent $48 on the paint and $60 on the dresser. Not too bad, huh? I knew I wanted to replace the hardware, since one of the handles on a drawer was broken. Once I removed the hardware, I discovered it had multiple screws fastening it to the drawer facing. I initially tried to find a replacement for the hardware, but the furniture was so old, it would have required some lengthy research. Also, I tried to find handles to fit in the previous holes, but none of the new handles were made with that exact distance for holes. My only other option was to fill the holes and create a new hole in the center of each drawer for the nice new pulls I picked up at Lowe’s.  I bought a new Purdy paint brush to apply my paint as well. The new brush was $15 (I think), and the pulls were $25. That puts me at about $150 spent. I’m not complaining. I can’t go into a store and buy this size and color entertainment cabinet for $150, so I’m good. 

My new Purdy girl!

My new Purdy girl!

After cleaning out the dresser really good, wiping away all the dust, removing all the hardware, removing all the drawers, and taking off the two front doors (which I knew I wanted to leave off so the shelves could be exposed), I was ready to transform my thrift store find! I kept this blog post in mind to inspire me during the process, because I loved the outcome of this piece. 

Cleaned and ready to go.

Cleaned and ready to go.

First, I removed all the drawers and filled the holes with this wood filler, then sanded over the filled holes with my fine grit sanding block for a smooth look (follow directions on the tube). 

IMG_6738


IMG_6740


IMG_6749

I tackled applying my first coat of Annie Sloan Chalk Paint to the frame of the dresser. The texture and application is much different from regular paint, but it went on pretty smooth with my Purdy brush. Some people dilute the paint with water, but I did not. Several people also use the special Annie Sloan Paint Brush, but I just used my Purdy. By the way, I had to paint in this small garage space due to the threat of rain outside. I applied the second coat of paint some hours later and as it dried, I worked on the drawers some more (filling the holes more where needed, and applying the first coat of paint). 

IMG_6743

Finally, once everything was painted with two coats of paint, I applied the wax using a piece of an old t-shirt. I literally applied the butter textured wax  in a circular motion with the piece of t-shirt, and then wiped it off. I worked in small sections at a time with the wax, because it dries quickly. It really gave me the exact sheen and depth of color I was looking for. I was somewhat concerned initially with the way the first and second coat of paint dried. Plus my husband and son both thought it looked like white paint. Uhhh oh….

Once everything was waxed, and the wax dried overnight, I had my hubby drill the new holes in the center of my drawer faces, and apply the new hardware. I wanted a nailhead trim look to coordinate with my headboard, so I felt so blessed to find pulls with a nailhead trim look! I had my hubby cut out a small hole in the back, just above the top shelf, to fish the wires through for our DVR, and eventually a DVD player, and other electronics. I found the perfect gray basket in my favorite store of earth, Homegoods, for $15. I’m using it to house extra throw blankets. The drawers will hold books and things that have been sitting around in baskets. 

IMG_5143


My awesome basket from Homegoods

My awesome basket from Homegoods

Overall, I am pleased with the outcome. My new TV cabinet really looks great in my space! Be sure to leave your comments and questions here on my blog! Thanks so much for reading. As always, I hope you are inspired to tackle your own thrift store finds!


IMG_5138


IMG_6975


Pineapple Mango Chiller

IMG_6524

With temps being super hot and muggy these days, cold drinks are a necessity. I had some fresh fruit I wanted to use, so I decided to blend up a healthy drink with it.

I am a huge fan of pineapple, so I knew I would use it in my drink. I like mango, but I am not a huge fan of it. I happened to have some on hand and decided to add a little of it to my drink as well. Finally, I threw in some lime juice, fresh mint leaves, and WOW! I loved the creation.  It was delicious so I just had to share it with you. Enjoy! Of course, let me know if  you plan to give it a try. 

Pineapple Mango Chiller
Serves 1
Healthy refreshing drink using just a few ingredients.
Write a review
Print
Prep Time
5 min
Cook Time
5 min
Total Time
10 min
Prep Time
5 min
Cook Time
5 min
Total Time
10 min
Ingredients
  1. 3/4 Cup Fresh or Frozen Diced Pineapple
  2. 1/4 Cup Fresh or Frozen Diced Mango
  3. Juice from 1/2 Lime
  4. 4 Mint Leaves
  5. 1/4 Cup Ice Cubes
  6. 1/4 Cup of Water (or more until desired consistency is reached)
Instructions
  1. Add ingredients into blender. Blend until combined well. Add sugar to taste if needed. Drink immediately!
Notes
  1. If using frozen fruit, you may want to thaw fruit in microwave for 30-40 seconds before blending.
SuperMom Decoded https://supermomdecoded.com/

$15 Thrift Store Chair Makeover

IMG_6246
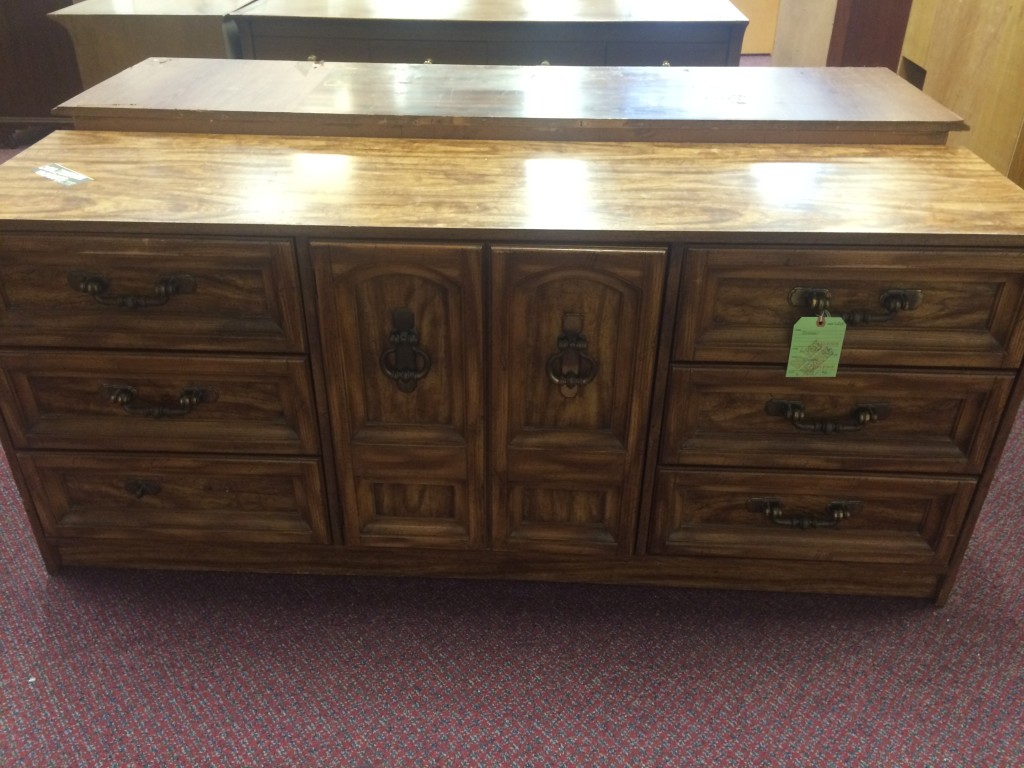
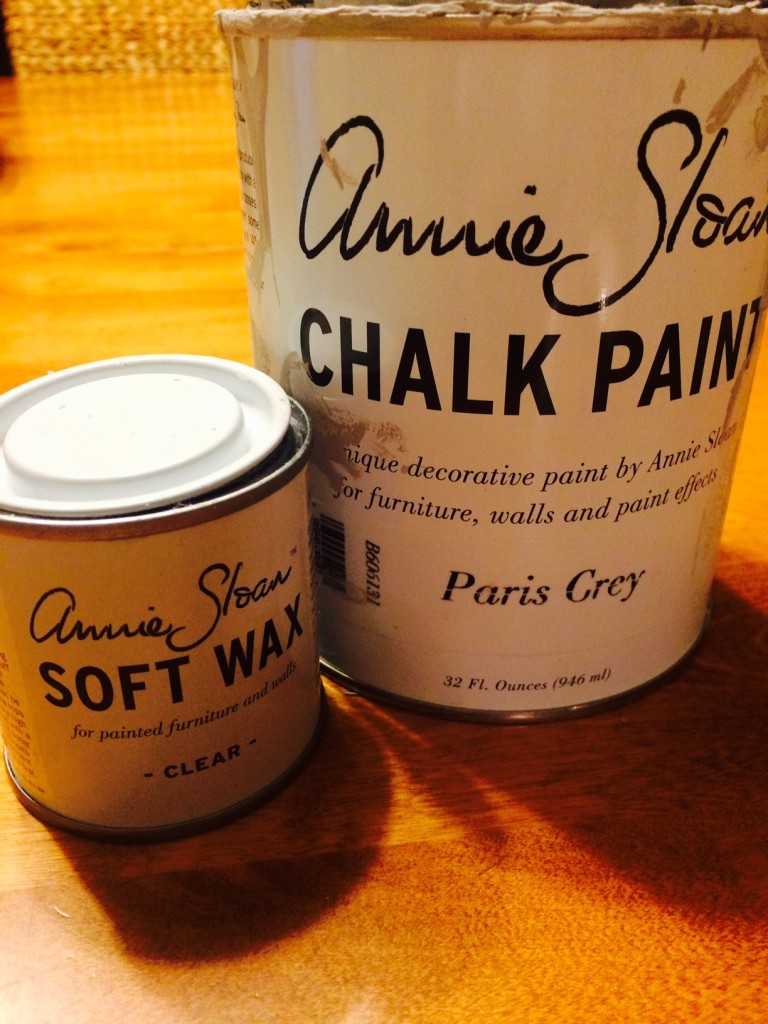
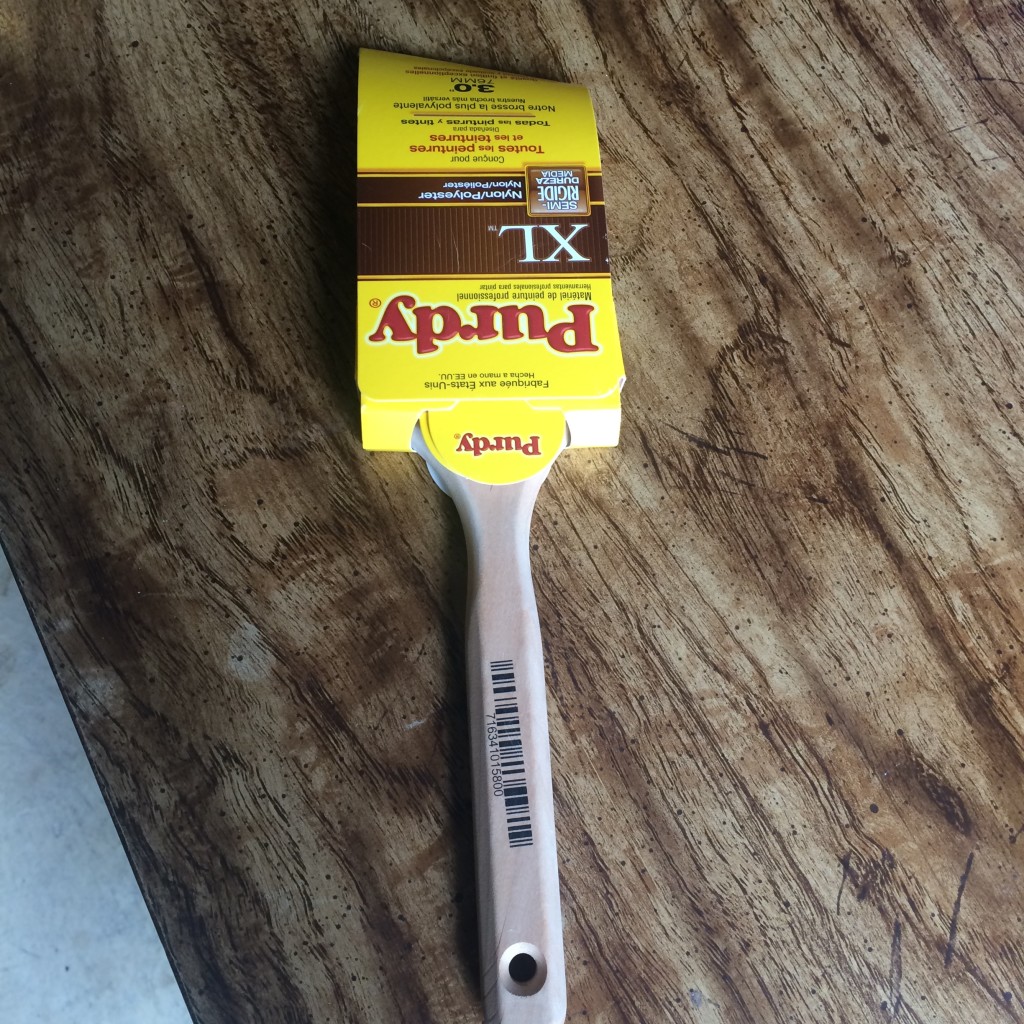
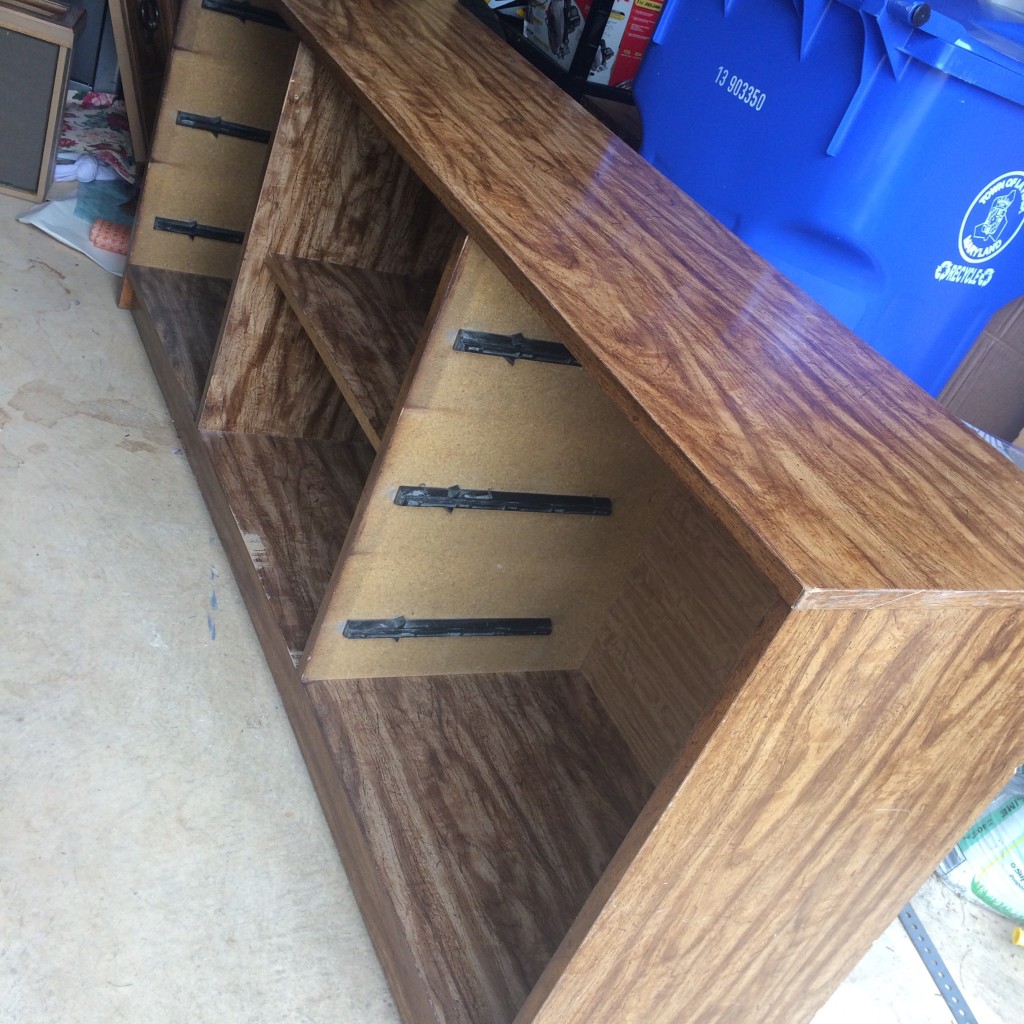
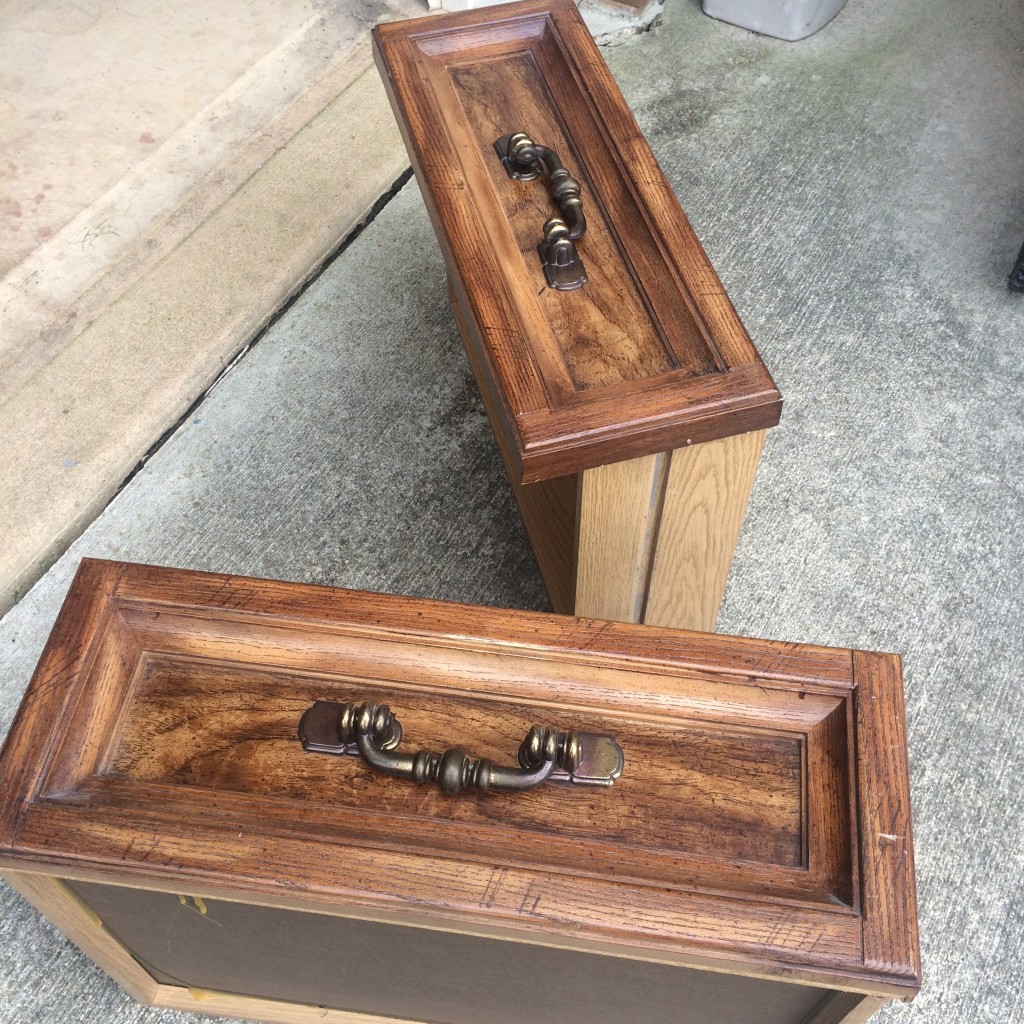
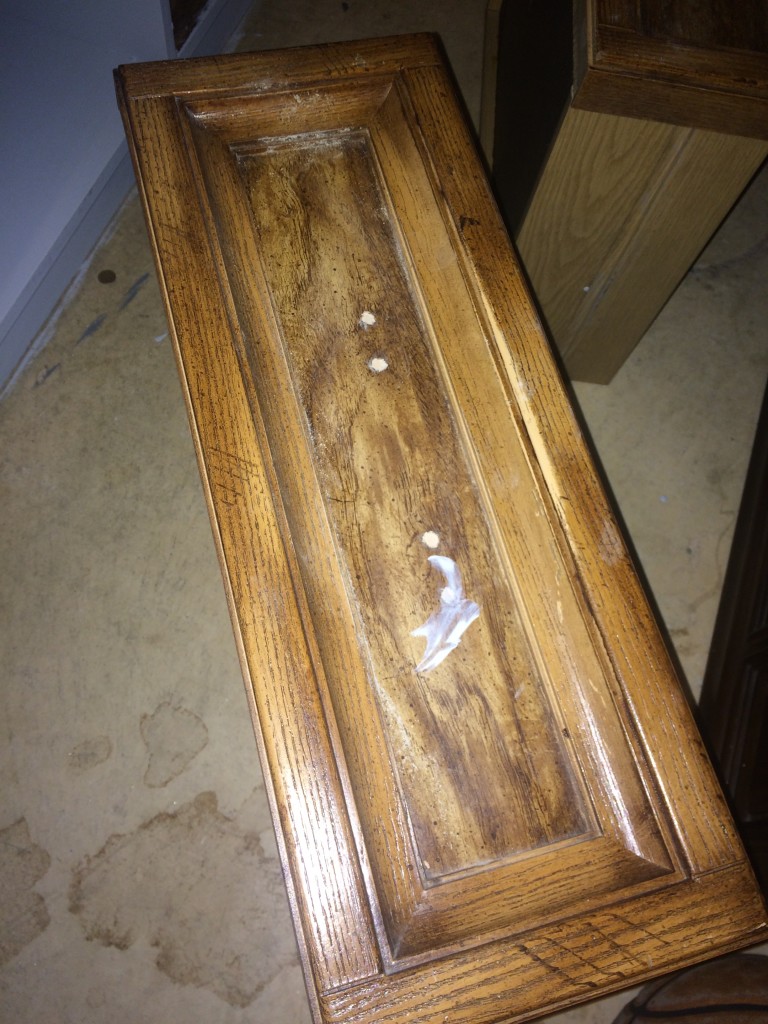
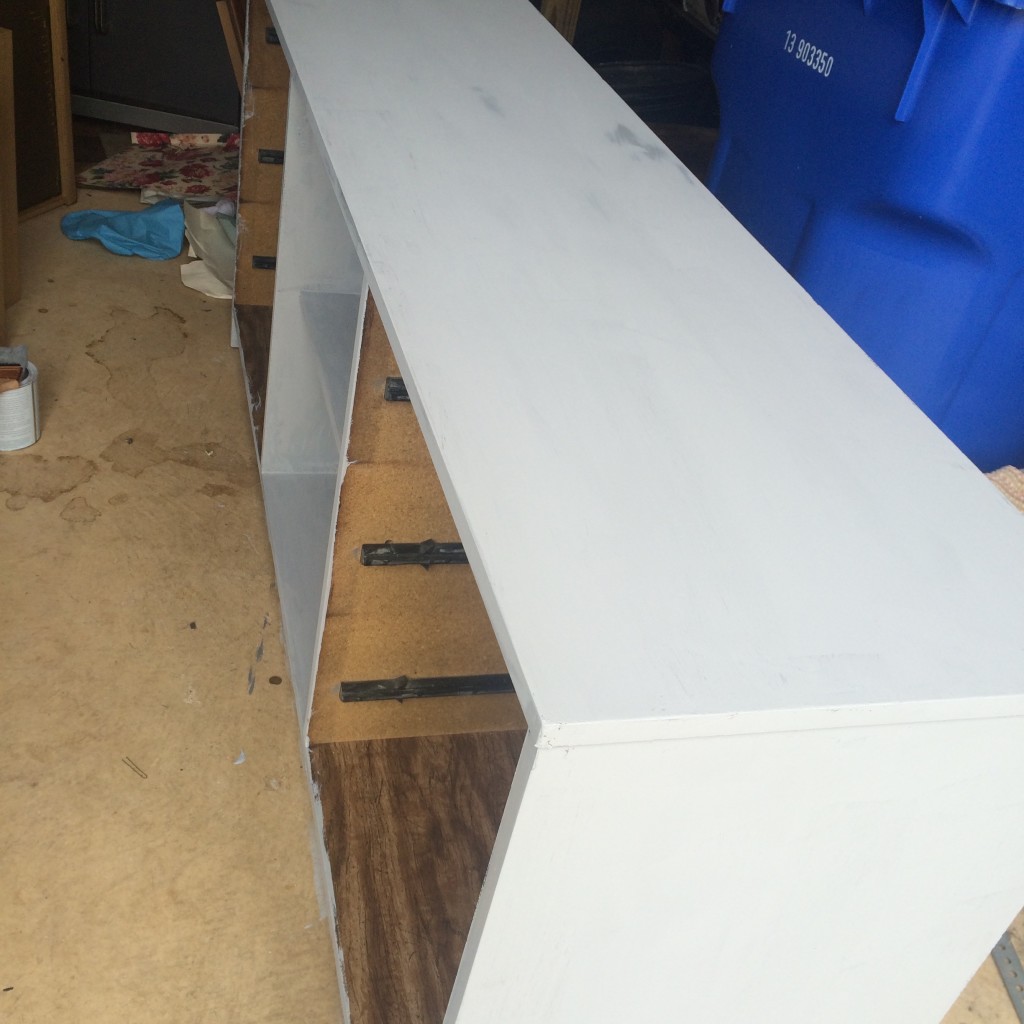
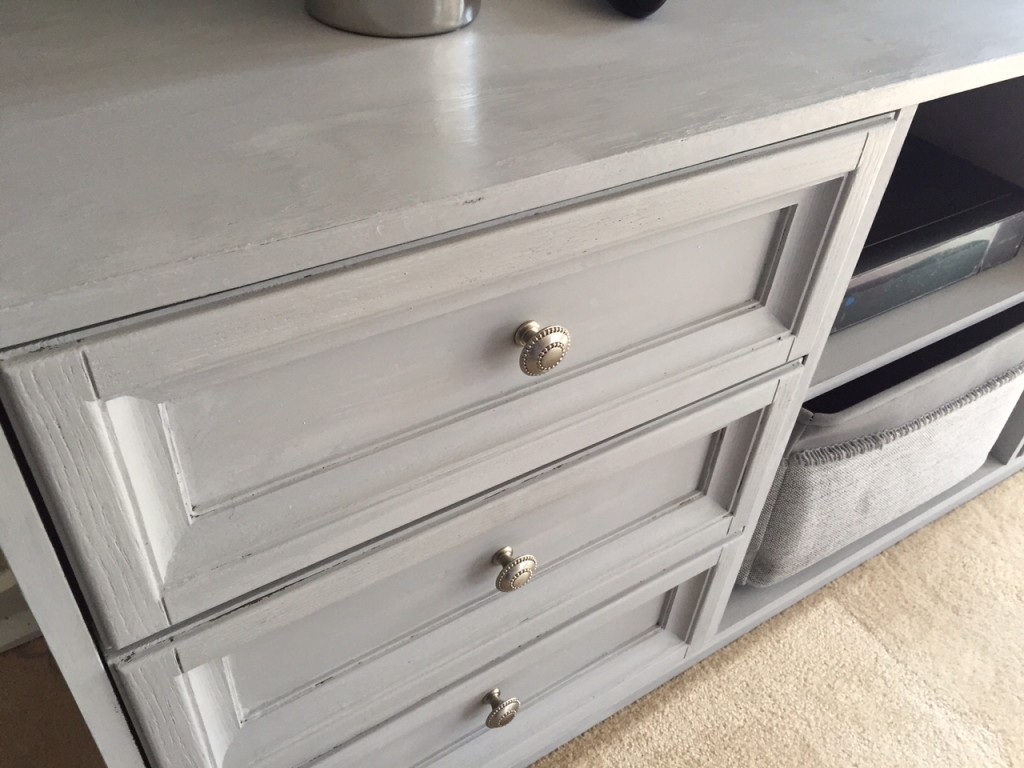
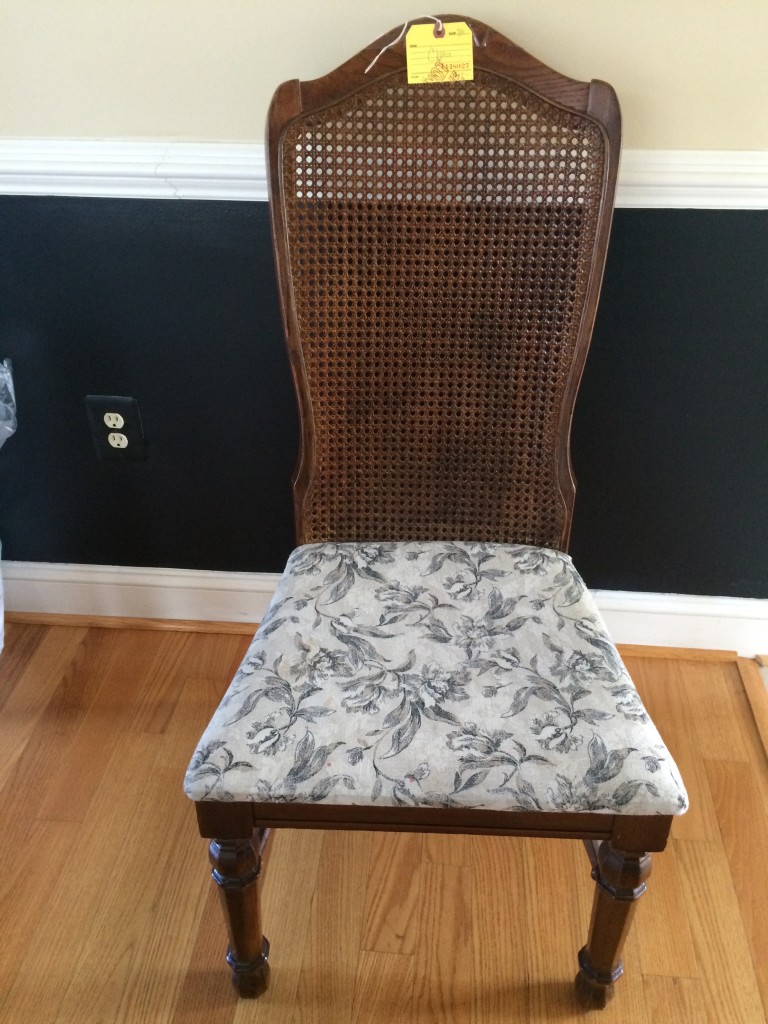
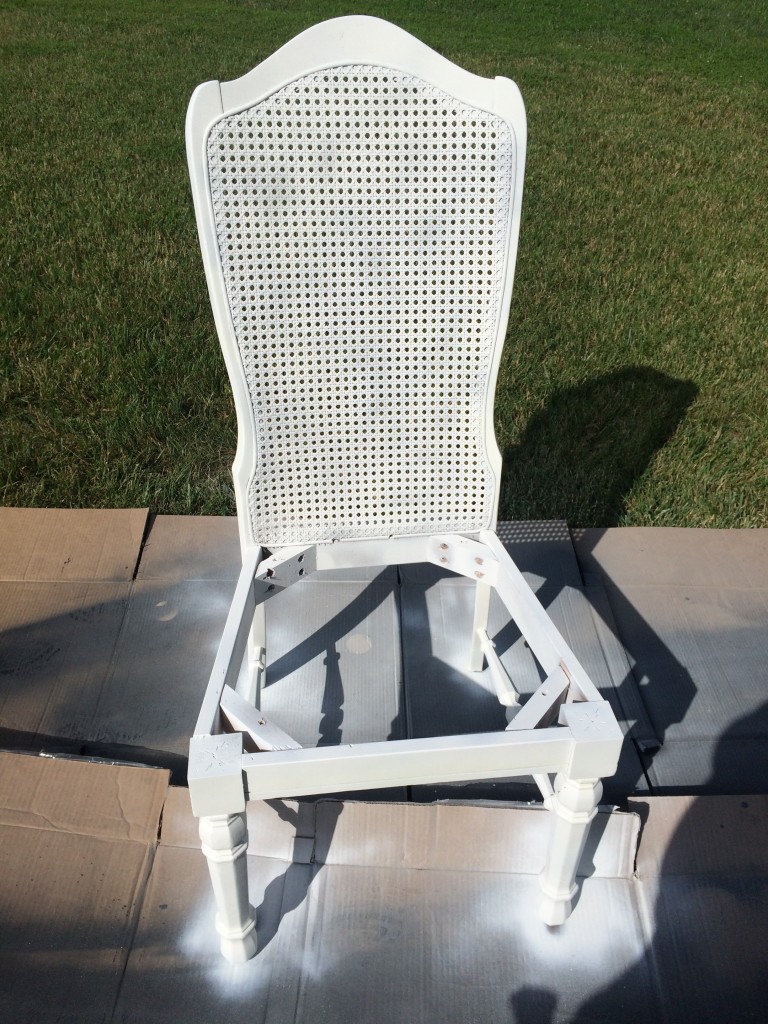
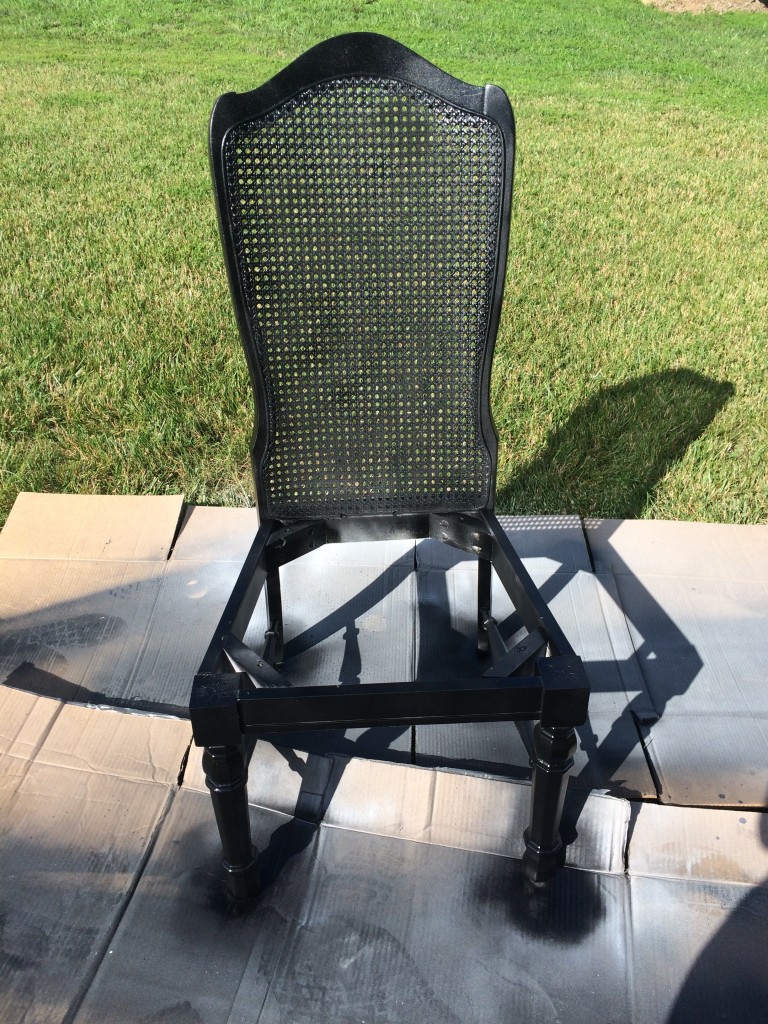
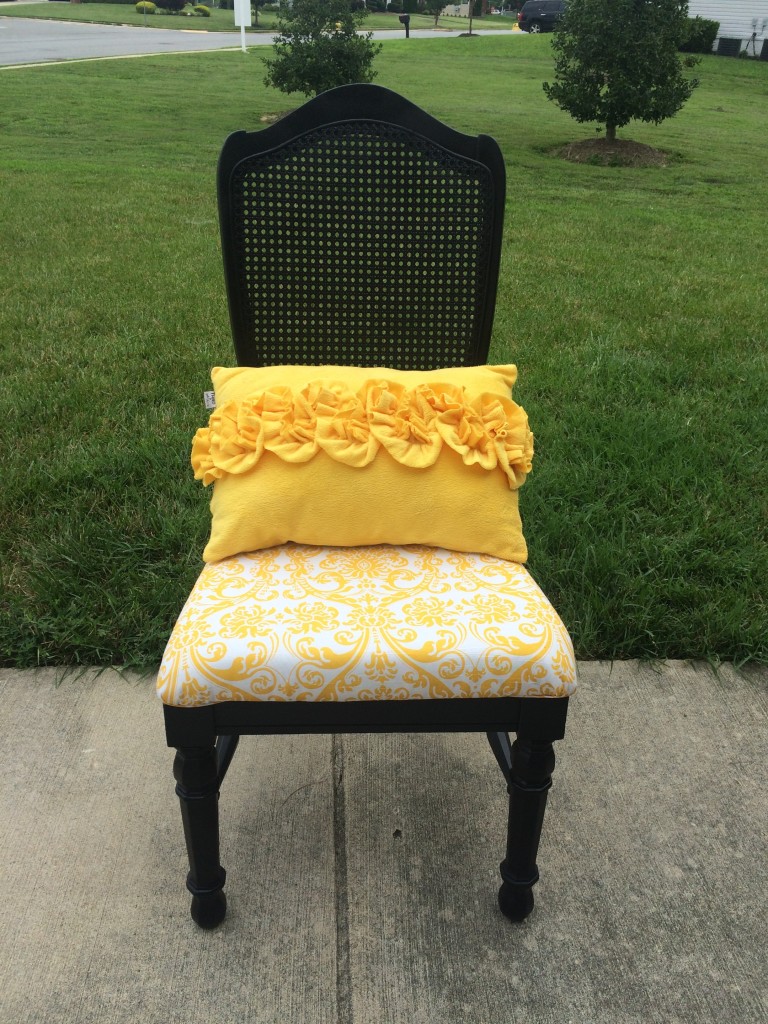
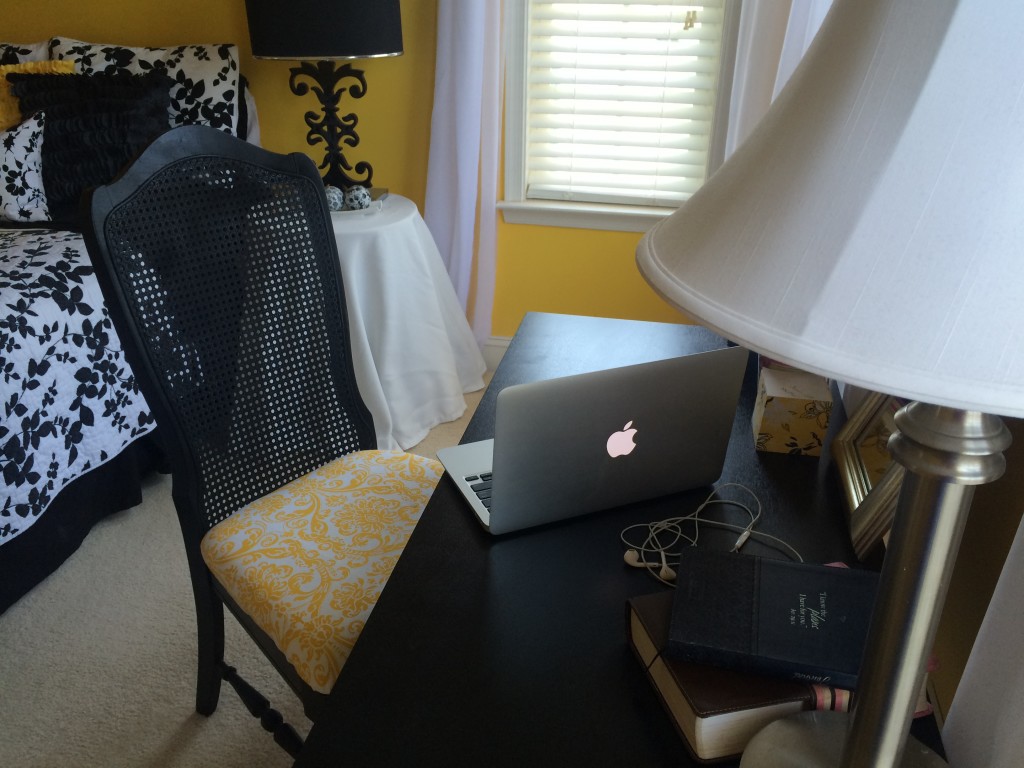
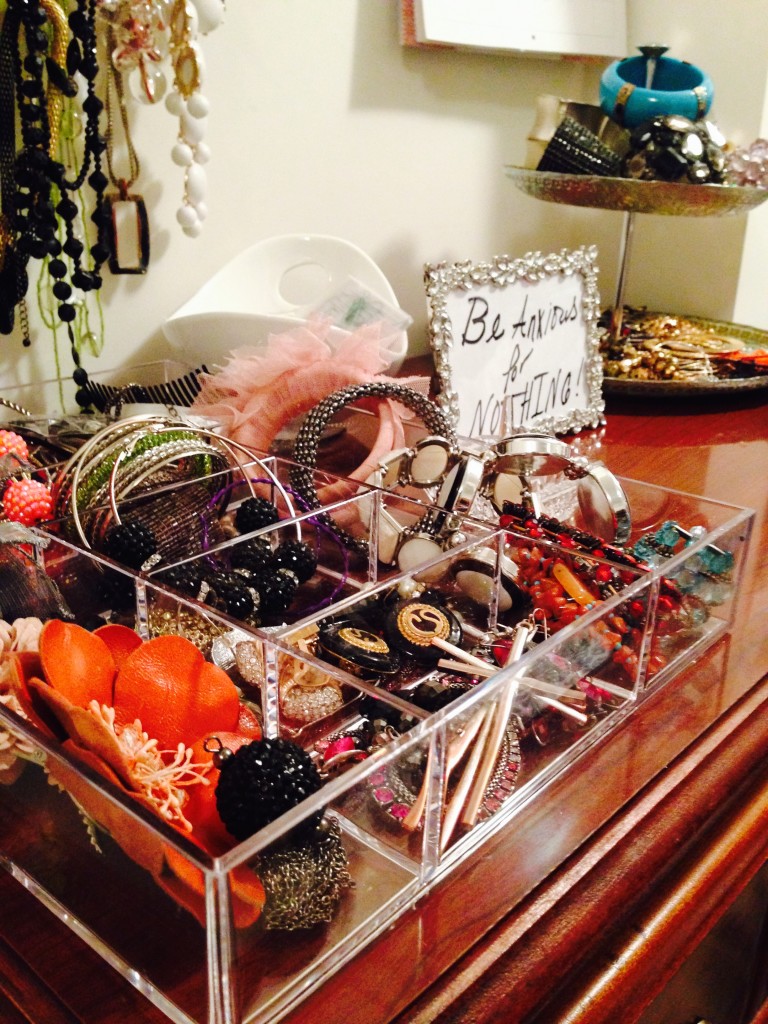
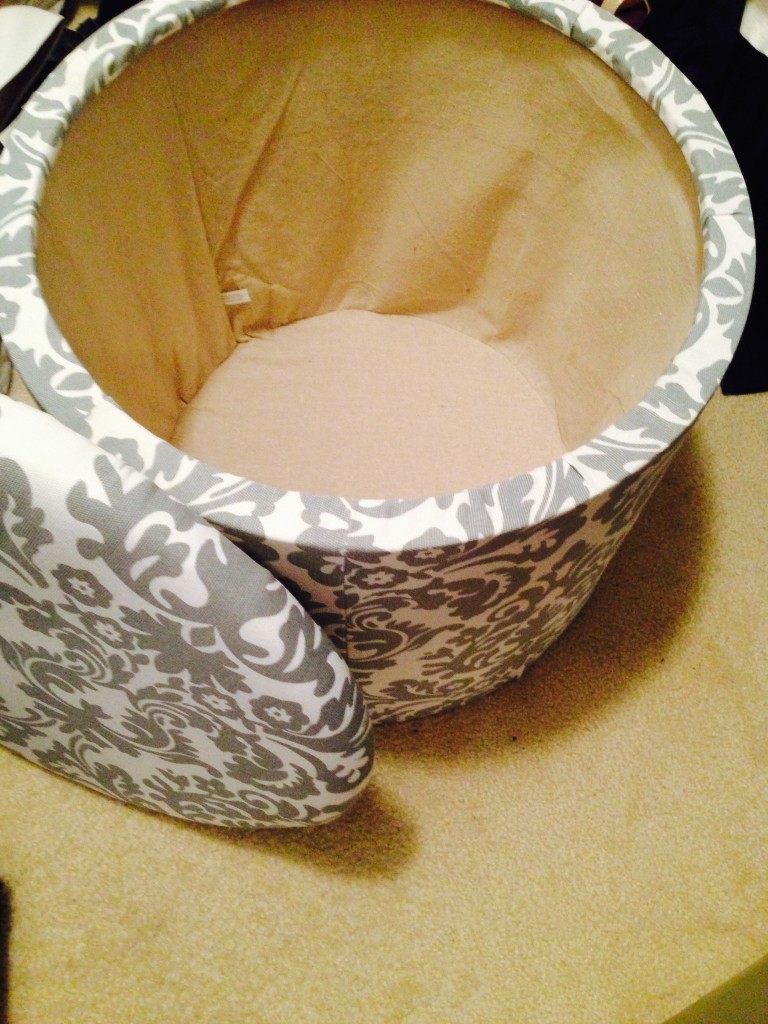
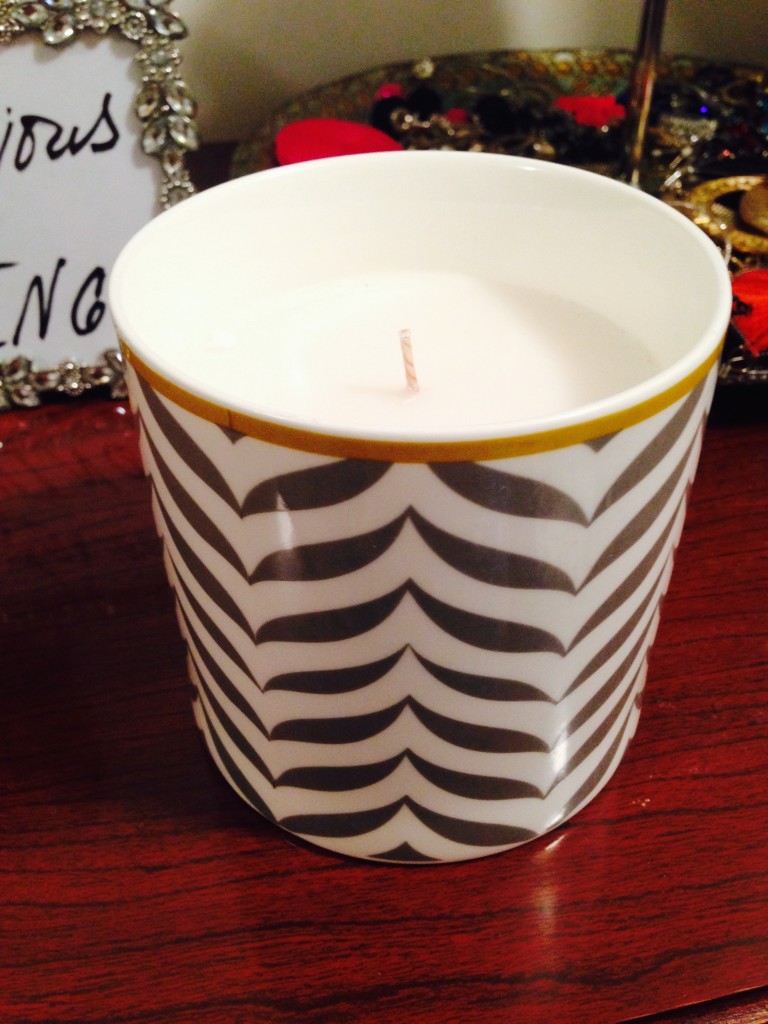
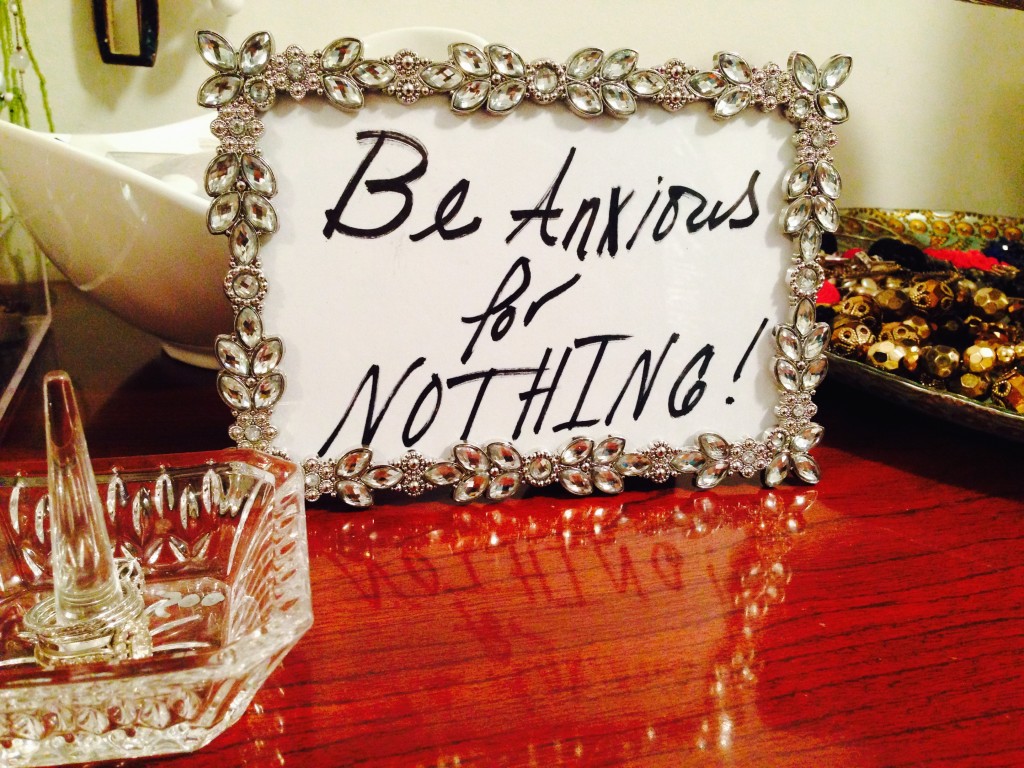
I am learning more and more to embrace the rhythm of my life and enjoy every season. There are times when my life is fast paced, and filled with adventurous travel on a weekly basis. During those times I am extremely busy, I barely see my home, and when I do see my home, I just like to relax in it. Other times, things are slower. Many times the slowness comes without warning, and my brain is still in busy mode, unaware that things around me have slowed down. Finally, it all catches up to me, and I surrender and learn to take advantage of the moments I have to stop and smell the roses. During the slow times, I try to productively occupy myself with the things I love to do. I read books more, blog more, entertain people at our home, etc. But one of my favorite things to do is tackle a decorating project in my home. My home is my retreat space. There is a certain feel I want to experience when I walk into it, and I am willing to invest the time and effort it takes to create the space I love.

One of the ways I invest my time into my home, is by scouting out great and inexpensive finds in my favorite thrift stores. I am fairly new to thrifting, and by no means consider myself an expert, but I am getting an understanding of how to recognize a good piece of furniture at a good price and learning how to reinvent furniture pieces.

I keep a running list in my head of furniture pieces I need for my home, so I am able to grab a great deal when I see it (it’s very important to act fast on thrift store deals). My oldest daughter needed a desk chair in her black, yellow, and white transitional styled bedroom. I spied this $15 cane bake chair at the thrift store, and thought it would be a great fit. Since my investment was low, and the chair was already in good shape, I knew I would not have to spend a lot more money to redo it. It would not require an expensive reupholstery job or any major repair job (it was only missing one screw, which my husband fixed in 3 minutes flat).

Got this chair for only $15

Got this chair for only $15

Since I had never covered a seat cushion before, or painted a cane back chair, I scoured Pintrest to get directions on doing it right. I was set on spray painting it (looking back, I probably would have painted it with a brush for more even coverage). I made a quick trip to the fabric store, and enlisted their help on what I needed to cover the chair. The current seat cushion was pretty flat, so I certainly want to replace it. I bought a yard of yellow and white fabric from the clearance section, a foam seat cushion, and some batting for the low low total price of $15 (the cushions and batting were on sale).  I’m up to a whole $30 spent on this chair so far. I’m impressed!

IMG_6142

Next I went to Lowe’s for primer and spray paint. I have some experience painting furniture, so I knew the primers and paints to get. I ended up needing 2 cans of primer and  3 cans of spray paint. I did not use all of the 2nd can of primer, and hardly any of the 3rd can of spray paint, but 1 can of primer wasn’t quite enough, and neither was 2 cans of spray paint. I spent about $35 total on primer and paint. Now I know primer and paint come together, but I would suggest using just primer in this case since I did not want to sand off the finish on the chair first. Anyway, that’s about $65 spent on this chair. I’m still impressed!

IMG_6141

IMG_6152

IMG_6149

First coat of primer


I enlisted (also known as forced) my teen son to help me. He removed the staples and took off the existing seat cushion fabric layers (yes, there were 2 layers), and discarded all the disintegrated foam, until we just had the board, free and clear. I used that to outline my new cushion, and then cut it with a knife. I placed the cushion on the board (I didn’t staple it because it would make indentations in my thick cushion), wrapped it in batting, stapled the batting to the board, and then covered it with fabric, securing it with more staples. I would strongly suggest reading this blog for more specific instructions.

Outlining board on my foam

Outlining board on my foam


IMG_6146


IMG_6147

IMG_6148

IMG_6155

After dusting and then priming my chair, I applied the first coat of spray paint. I allowed drying time before turning it over and spray painting the underside. After a few coats of black spray paint, and drying time, we attached the newly upholstered cushion and it was done!  I am pleased with the outcome. Pretty good for a newbie!

IMG_6153

IMG_6172

IMG_6236

Thank You

Thank you for your purchase. Please allow 5-7 business days for order to ship, unless otherwise noted on ordering page.


supermomdecodedlogo13a

Marriage, Rings, and Other Things

IMG_4726

I think it’s nearly impossible for anyone in my house to surprise me, but my hubby, Merlon Devine, managed to do it effortlessly. After we ate dinner on my birthday (July 1), we reluctantly (so I thought) decided to order a dessert to share. The waiter came out with two plates, and placed the dessert assortment plate in front of me. On it there were three pink ribbons, and each was tying a piece of paper with a word (past, present, future) to a diamond band or ring!

IMG_4730


IMG_4731

IMG_4732


IMG_4733

The stereo speaker above our table was playing Merlon’s song he wrote to me, “Let’s Grow Old” from his new CD, Love Divine (you can get it at www.merlondevine.com).

4Panel-Insert-Inside

Then he presented me with the ring set and asked me to renew our marriage vows for our 20 year anniversary in January. I had NO IDEA about any of it!!! I was blown away…in fact, I still am. What a wonderful surprise. He put a ring on it again!

IMG_4726

I am crazy excited about this new ring! My very first wedding ring was quite modest. My husband purchased it from a pawn shop over twenty years ago. It was nice, and I am glad he was smart enough not to go in debt to buy me an expensive ring. I wore it proudly for ten years before getting my first ring upgrade. 

I want to encourage you ladies reading this, not to base the quality of your marriage on the quality of your ring. Carats don’t equal a great marriage! How many celebrities have you seen that had a huge engagement ring and an expensive wedding, only to have a marriage that lasted a few months? Obviously it’s not all about the ring, the dress, the cake, etc. 

My husband and I already knew we wanted to build our marriage on a solid foundation, Christ. We wanted the word of God to be the foundation for  how we treated each other. We have allowed it to be the standard in our marriage. While our marriage has still required work, as all marriages do, it has been a wonderful 19 years so far! Our Christian beliefs have made all the difference in our relationship. Yeah, I know a few non-Christian people that seem to have a good relationship from the outside. I also know some devout Christians that were not able to stay married for various reasons. I am not condemning either of the relationships I just described. I can only tell you what we have decided, and what has worked for us. Again, being a Christian isn’t all there is to having a great marriage. You have to have two people that are committed to do the work to maintain the union. Here are a few things that have helped us stay the course:

  • We listen to teachings on marriage and apply them to our lives (I highly recommend Marriage Made EZ teachings by Drs. Mike and Deedee Freeman. They keep it REAL and practical.) 
  • We attend marriage related events on a regular basis.
  • We talk to each other frequently (like two teenagers in love).
  • We communicate our issues and come to a resolution (easier said than done, but doable and so worth it).
  • We read books about marriage.
  • We go on dates often, during the daytime or nighttime. 
  • We laugh together often. 
  • We show affection to one another privately and publicly.
  • We attend church together and discuss what we learned from the service.

Here’s something from Pintrest that I thought would be good to share as well. 

marriage

I could go on and on, but I think you get what I am saying. There is work involved in maintaining the marriage, just as there is in maintaining anything.

Us

Us

Thanks for taking the time to read this blog. I pray it has been a blessing to you in some way or another. I always love to hear from you, so leave your comments on this blog please! 🙂


Organize My Closet

IMG_5166

Maybe it was the unusual amount of free time I had on my hands. Maybe I just finally got fed up with the mess on top of my dresser. Maybe I no longer wanted to call out a search and rescue team to find the mate to the earring set I wanted to wear. Honestly, I am not sure exactly what hit me, but something did. It was time, well it was really way past time.

I went to one of my inspiration places, Pintrest, and searched for some creative ways to organize my jewelry. I found a blog called Merricks Art that was perfect for my situation. The blogger had a dresser in her closet, just as I do. She also had a similar amount of jewelry, and her necklaces were hanging above the dresser, just as mine are. Her solutions to my jewelry mess were quick and easy. I immediately jumped in my car and headed to my favorite store in the entire world, Homegoods. With a head full of inspiration and  just a little bit of cash, I found what I needed.

I loved the blogger’s use of plates and bowls to organize her items. I am certainly familiar with the dishware section of Homegoods, so I headed there first. I found a two-tier serving platter for $15. The shape and size was perfect for my dresser top, so into my basket it went. Using a serving platter in my closet was a divine idea!

IMG_5160

Next, I headed to the closet organization section of the store. I found a clear drawer organizer tray for $20. Although I was not interested in putting it in my drawer (I like my jewelry on display), I knew the size would be perfect for my dresser surface. I also like that it was clear. I didn’t want a heavy fabric covered organizer. I really wanted to lighten things up a bit, and the clear organizer was ideal!

IMG_5158

I always wanted a place to sit in my closet, so I could not pass up this storage ottoman. I instantly knew its size and height would work in my space. It was $40, so I grabbed it. I know it was not on my list of items I needed for jewelry organization, but I know how Homegoods can be. If you see an item you like, you better grab it right then. By their own admission, they are “never the same store twice.”

IMG_5168

Finally, I needed some girly items. I spotted a linen scented candle in a gray and white animal print jar for $8. It was so fragrant! I thought that would be advantageous since my workout clothes can be fairly smelly in my closet (I know, ughhhh, right?) More than likely, I won’t be lighting a candle in my closet, but I am a candle fanatic, so I purchased it anyway. I will use it somewhere in my home eventually. I also wanted a photo frame. I found one with just the right amount of bling and femininity that suited my taste. I purchased it for around $8 as well. I didn’t want the frame to house a photo, but I wanted it to house an inspirational saying or scripture that I needed to be reminded of daily. I have found the closet, bathroom mirror, and the refrigerator serve as great places to put daily reminders. I chose Philippians 4:6, “Be anxious for nothing.” It reminds me to stay calm, settled, and patient as I await the answers to my prayers.

IMG_5167


IMG_5161

The former owners of our home left a wire tie rack installed above the spot where our dresser is housed. I use it to hold some of my necklaces (the others were in that mess on top of my dresser). The inspiration blogger used a jewelry pin board, but my tie rack served the same purpose so I didn’t make any changes there. I just straightened up the rack quite a bit.

IMG_5162

A friend of mine gave me a much needed ring and jewelry holder a few days ago that I used. Then, a bowl I already owned (purchased from Homegoods, of course) served as a holder for all those little replacement buttons that come along with some of the clothing items I purchase. Does anyone ever get around to using those? I sure don’t, but I keep them on hand just in case I guess…

IMG_5164

I got rid of old jewelry and mismatched pieces, then I organized everything that was left. I was very pleased with the final outcome. The process was fast and fabulous! That’s just the way I like it! I hope to conquer the rest of my closet soon. I will blog about it when I do.

I hope this blog inspires you to get organized. Remember to think creatively! You can use items for multiple purposes. Make your space beautiful with just a little cash and a lot of creativity!

I always love to hear from you. Comment to share your thoughts and creative closet organization ideas!

Think Pink!

IMG_4718

I recently celebrated my birthday on July 1. For once in my life, I didn’t plan anything. My husband hinted he wanted us to go to dinner, so that was the only excuse I needed to find something cute to wear at the very last minute! I wanted to wear a pink dress. I knew that much already. I remembered a social media post from a nearby boutique, Breezyz, where she posted a pink dress I admired.

This pic perfectly shows the true colors of the dress. It's pink and purple.

This pic perfectly shows the true colors of the dress. It’s pink and purple. 

I loved it so much, I took a screen shot of it and kept it on my phone. I debated for a few days wether or not to buy it, if I could wear it, and on and on and on. Finally, on the day of my birthday, I called Breezyz to see if the dress was still in stock. It was, so my daughters and I stopped by there and I tried it on. The love was instant! After running around town to find the perfect pair of shoes (which I never found), I opted to wear the pink BCBG pumps I already owned. They were a spontaneous buy years ago from TJ Maxx or DSW…I think.

IMG_4702

I was pleased with the outcome. Check out Breezyz online or make a visit to the store in Waldorf, Maryland!

IMG_4706

 Another last minute decision was to buy the balloons. My daughters talked me into buying them after hearing me share this photo idea that inspired me. A friend of mine took a pic with a balloon bouquet on her birthday. It was so CUTE! So I bought the balloons. All my last minute ideas panned out really well! I was reminded to stop second guessing myself and go after what I really want. It just may…no, it will work out beautifully!

IMG_4708

Happy Birthday to meeeee!

Fast & Fab Chicken Bowl

OLYMPUS DIGITAL CAMERA


It should be no surprise that I enjoy cooking fast and fabulous meals. I wrote a book about it, for goodness sake! I figure the quicker I can create a meal, the better. This meal is certainly no exception. My family loved this meal, so I am sharing it in hopes that your family will love it as well. As always, I want to inspire you to get out of the drive-thru and into the kitchen. This one should do it!

All you will need is boneless skinless chicken breasts, taco seasoning, lime juice, cilantro, onion, avocado, jalapeños (fresh or from the jar like I used), cilantro, tomatoes, black beans (canned or cook your own), and cooked rice (brown or white). Now that may sound like a lot of ingredients, but keep in mind you will only be cooking the rice and chicken unless you opt to cook your black beans instead of using canned ones.


While your rice is cooking according to the package directions, get started chopping your fixings and heating up your black beans. Then, move Cut away any fat from your chicken breasts, and then cut the breasts into cubes, about 1/2″ in size. I use four chicken breasts for my family of five. Chicken tenders would work fine as well.

OLYMPUS DIGITAL CAMERA

Now that they are all cut up, we are ready to season them.

OLYMPUS DIGITAL CAMERA

Sprinkle taco seasoning onto the breasts. I use a generous amount. By the way, I use regular taco seasoning, not the chicken taco seasoning. I have yet to find a good reason to use chicken taco seasoning specifically when the regular one works just fine.

OLYMPUS DIGITAL CAMERA

OLYMPUS DIGITAL CAMERA

OLYMPUS DIGITAL CAMERA

Grab a fork and gently stir the chicken around so that the seasoning is distributed evenly. Next is our final ingredient. I told you this would be fast and fabulous. No worries, it will not lack flavor at all. All you need is the juice of one lime. So, get out your citrus press and goooooo. (If you want a citrus press, or any kitchen tools I use, visit the store section of my blog to order your own).

OLYMPUS DIGITAL CAMERA

OLYMPUS DIGITAL CAMERA

Now that our chicken cubes are seasoned with the lime juice as well, let’s get ready to make the magic happen. Heat a skillet with the oil of your choice (vegetable, canola, extra-virgin olive oil, coconut oil). Once it’s hot, add the chicken to the skillet.

OLYMPUS DIGITAL CAMERA

OLYMPUS DIGITAL CAMERA

OLYMPUS DIGITAL CAMERA

I threw some sliced red onions in the skillet. I was not careful about how I cut them at all (as you can tell).

OLYMPUS DIGITAL CAMERA


Continue to cook the chicken and onions until they start to brown like this.

OLYMPUS DIGITAL CAMERA

Once the chicken is finished, assemble your plate of fixings. I used jalapenos from the jar, grape tomatoes, chopped cilantro, sour cream, and black beans (when I use canned beans, I prefer Bush’s Seasoned Black Beans) . Don’t forget your bowl of rice or quinoa on the side. OLYMPUS DIGITAL CAMERA


Each person can create their own individual bowl with this family style layout. Enjoy this fast and fabulous meal. Let me know if you plan to try it and definitely let me know if you make it!


Fast & Fab Chicken Bowl
Serves 6
My spin on the chicken burrito bowls from Chipotle.
Write a review
Print
Prep Time
15 min
Cook Time
15 min
Total Time
30 min
Prep Time
15 min
Cook Time
15 min
Total Time
30 min
Ingredients
  1. 4 boneless skinless chicken breasts
  2. 4 tablespoons of taco seasoning
  3. 1 lime, juiced
  4. 1 table spoon of vegetable oil
  5. 1/2 red onion, sliced
Fixings
  1. Rice
  2. Black Beans
  3. Avocado
  4. Jalapeños
  5. Grape Tomatoes, Halved
  6. Cilantro
  7. Sour Cream
Instructions
  1. Prepare rice according to package directions
  2. Chop fixings and set aside
  3. Dice chicken breasts into 1/2" chunks
  4. Sprinkle taco seasoning over the chicken. Use a spoon or fork to stir the chicken so seasoning is evenly distributed
  5. Squeeze the juice of 1 lime over the chicken
  6. Heat oil in skillet over medium high heat
  7. Add chicken and cook for 3 minutes
  8. Add onions to skillet and flip chicken with a spatula
  9. Continue to cook chicken and onions for 5 minutes, or until chicken is no longer pink in the center and outside is slightly browned
  10. Remove from skillet and serve over rice. Top with fixings.
Notes
  1. This dish also makes a great meatless meal by replacing the chicken with quinoa and omitting the rice.
  2. Greek yogurt is a great fat-free substitute for sour cream.
SuperMom Decoded https://supermomdecoded.com/